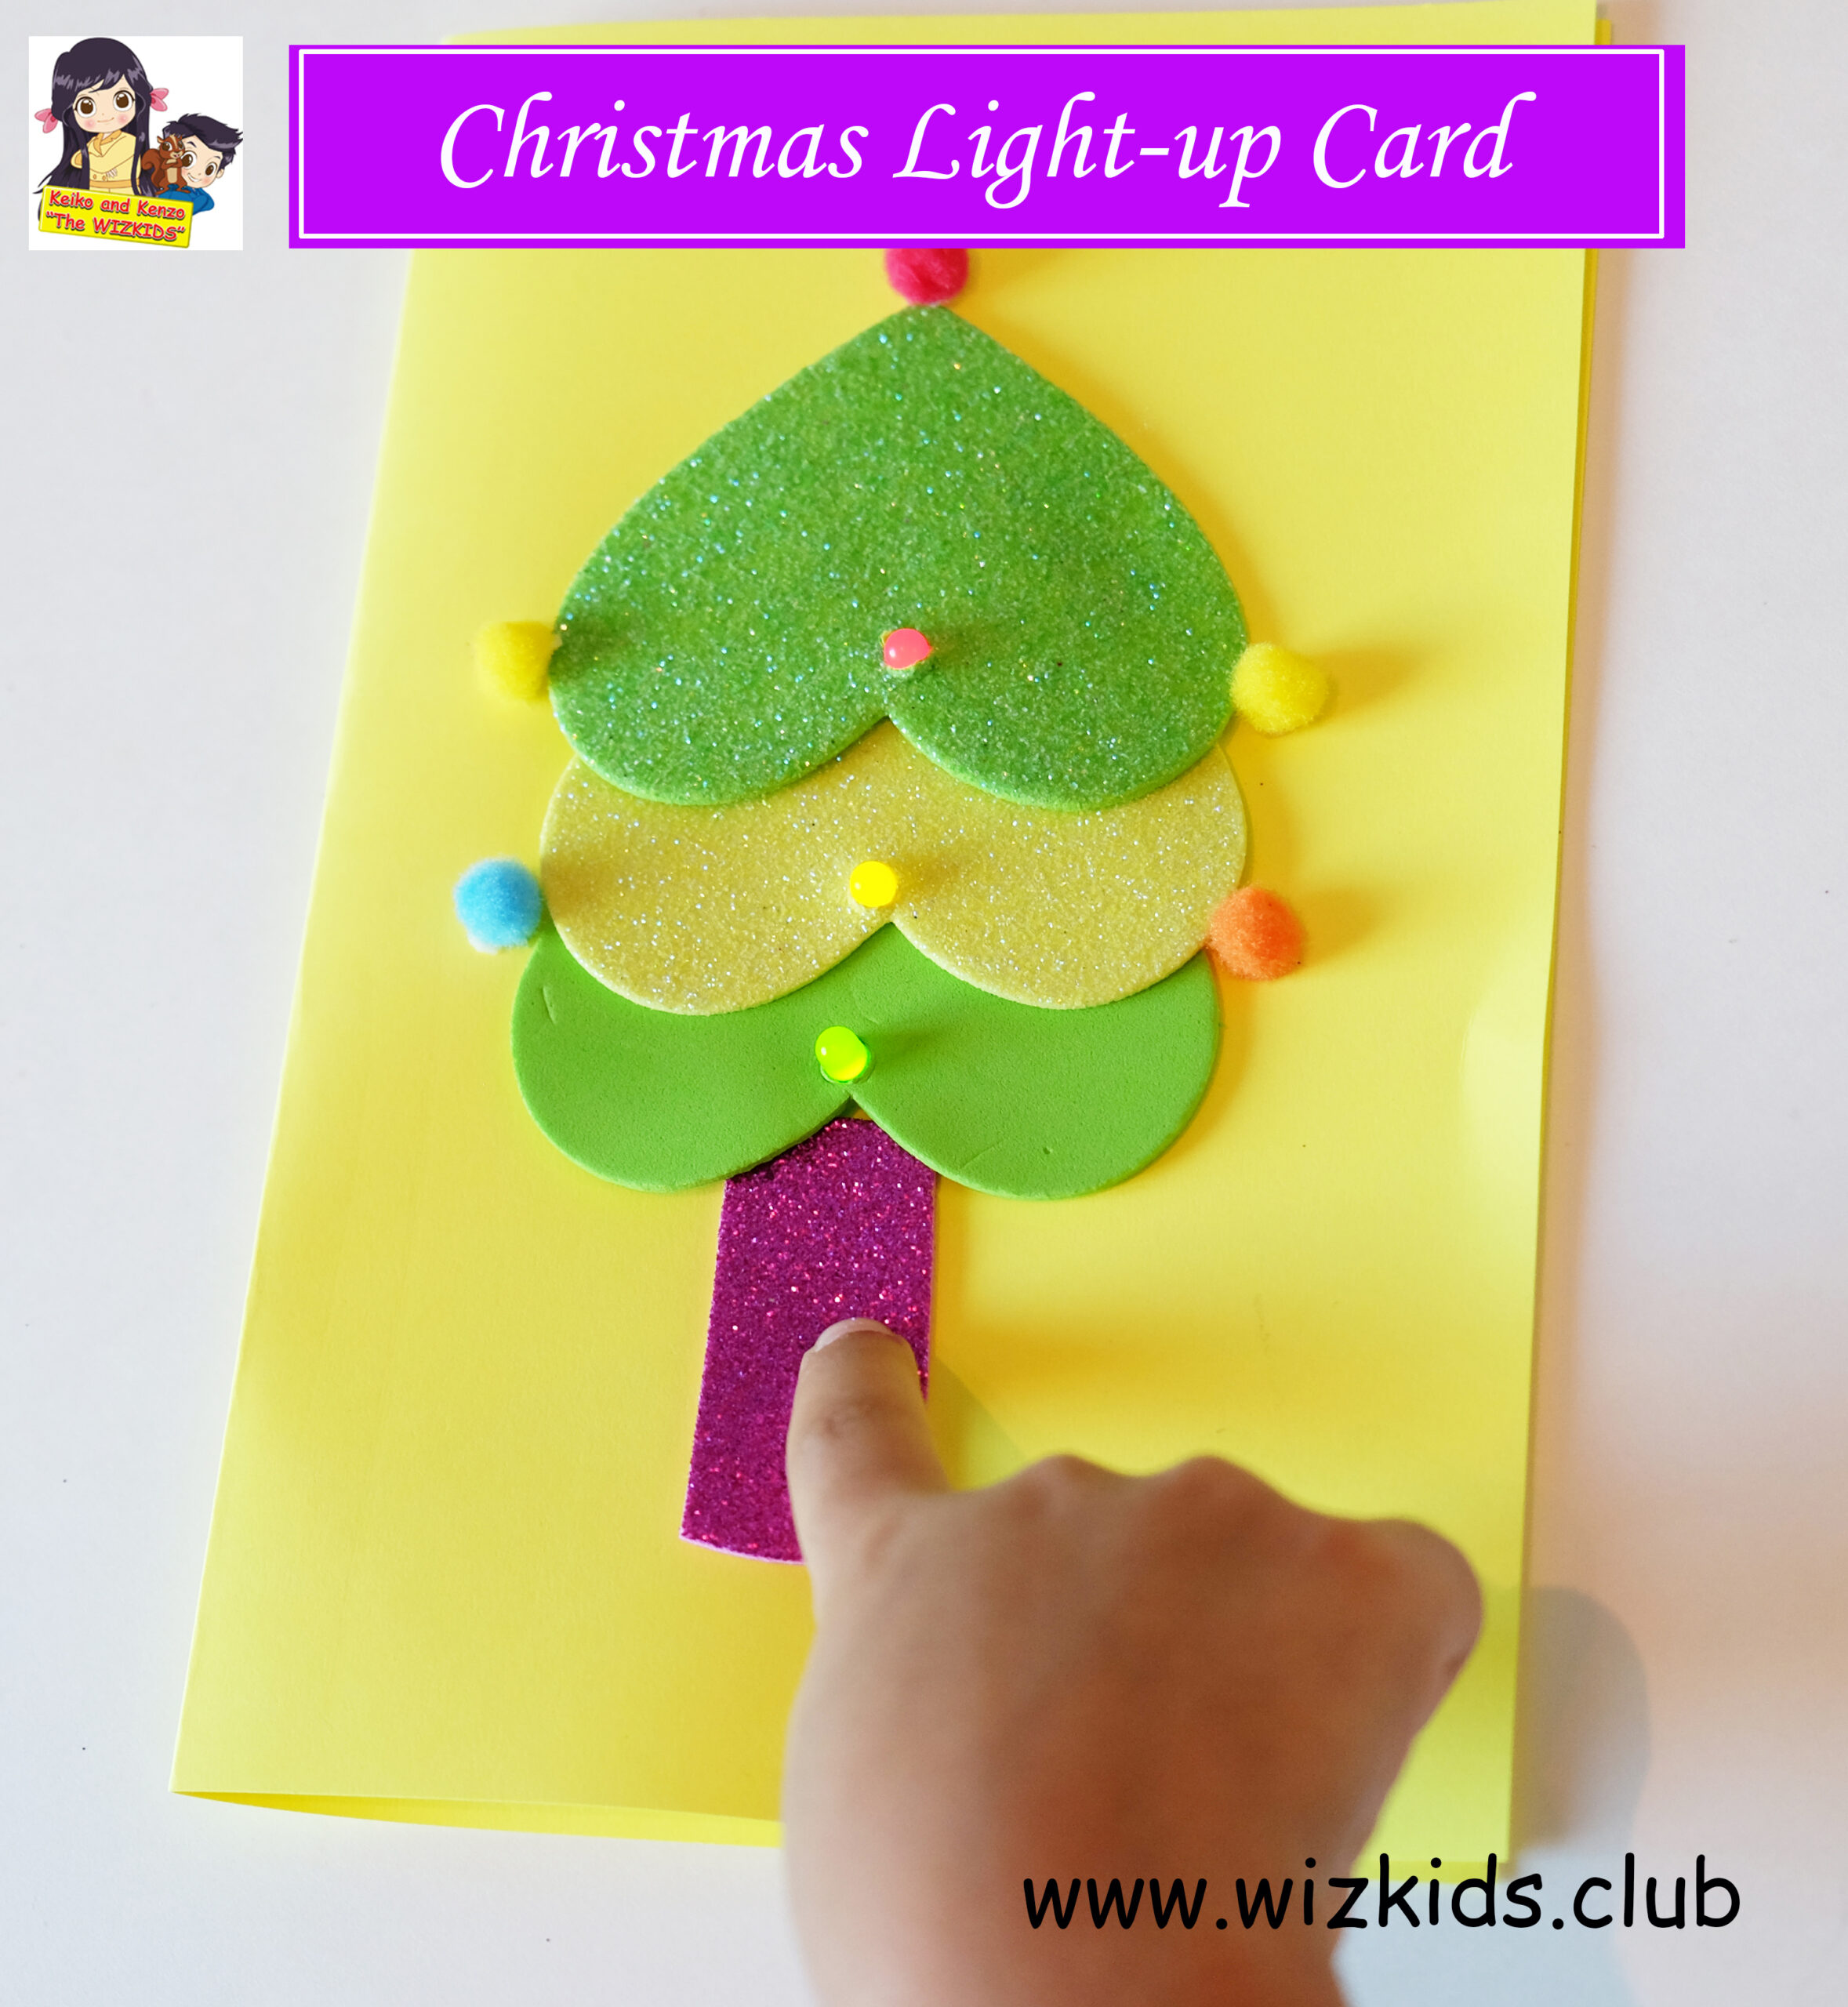
Making Christmas circuit card is so much fun that it is hard to break away.
And as I work on one card, another idea pops into my head and I then have to make it – after all who doesn’t like to play with bulbs and batteries? 😉
This card came from an idea I had when I wanted to make a card using a Christmas tree and LEDs.

MATERIALS:
Peel and stick copper tape
1 X 3 volt coin battery size, CR2032
3 X 1 LED lights
Scissors
Art supply as desired
Stiff paper for the card
Glue stick
1) Take the color paper and fold it into half to make the card. You might want to use a ready-made card for this project.

2) Make the Christmas tree with paper-foam cut outs or you can draw one. Stick it to the card at the center.

3) Make three holes with the scissor as shown. The LED will pop out from these holes and shine when connected to battery, later on.

4) To test the circuit, take the LED and the coin battery. Make the legs of the LED touch both the sides of the battery so that it glows. If it doesn’t, simply flip it. The positive leg of the LED should touch the negative surface of the battery. This makes the circuit complete.

5) Test the positive leg and negative leg of each of the 3 LEDs and poke them inside the holes as shown. All the positive ends should be in one side and the negative in the other side.

6) Cut out 2 copper tape strips. Be careful not to crush them too much.
7) Stick it down to all the positive legs as shown. Let the copper strip fold over and extend a bit for the battery to make contact as in the image.

8) Take the 2nd copper strip and tape it down as shown.

9) Stick the battery to the 2nd end of the copper strip. When the battery touches the 1st copper strip all the LEDs should start to glow!

For more awesome DIY project for busy hands, download the FREE BOOK of “Inventions, Engineering & Design for Kids” here:
http://wizkids.club/landing-page-1/


